Setting up installation points
Prerequisites before setting up an installation point
To understand the Miradore infrastructure components, installation points and their relationship to package building
One Miradore installation point will be automatically configured when Miradore
server is installed.
If additional installation points are needed, you can easily install more with the same installer that you used to install Miradore server.
Installing an installation point
Run the installer of Miradore Management Suite on the computer where you want to install the installation point.
We recommend to install the installation point on a computer running Windows Server operating system, because the number of concurrent connections might be limited on computers running a Windows desktop operating system.
You can get the latest installer from: https://support.miradore.com/WebSites/Authenticated/sp_Downloads.aspx
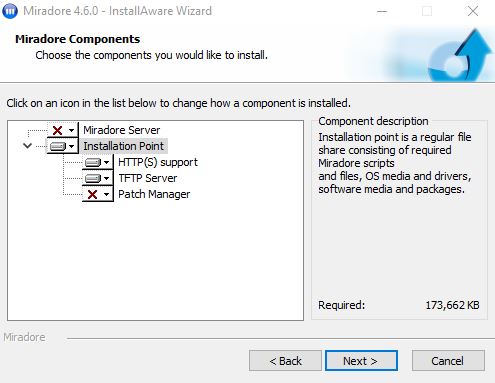
The installer will ask which components of Miradore you want to install.
De-select Miradore Server and select Installation Point.
If you are setting up an HTTP installation point, select also the 'HTTP(S) support'.
TFTP server is needed when using network boot for initial installations.
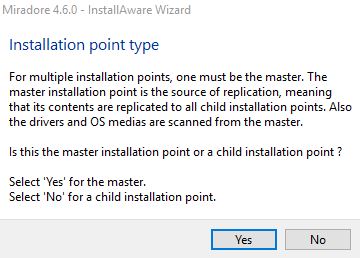
For multiple installation points, one must be the master. The master installation point is the source of replication, meaning that its contents are replicated to all child installation points. Also the drivers and OS medias are scanned from the master. Select "Yes" to install a master installation point, or "No" to install a child installation point.
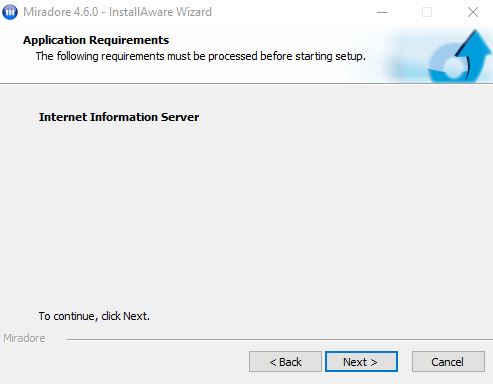
In case some of the requirements isn't met already, wait until the installer installs the missing requirements, such as Internet Information Server (IIS).
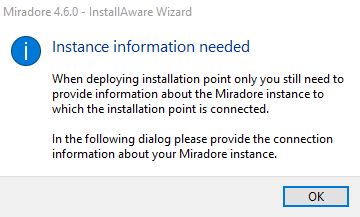
Next the installer reminds that you need to provide the connection information that is used to connect installation point with your Miradore Management Suite instance.
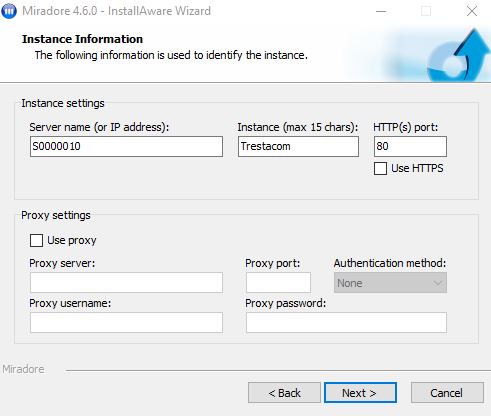
Enter your Miradore Management Suite server's server name, instance name, port and other possibly needed connection parameters.
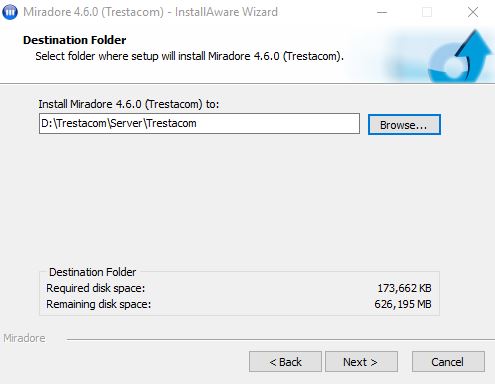
Define where setup will install the installation point.
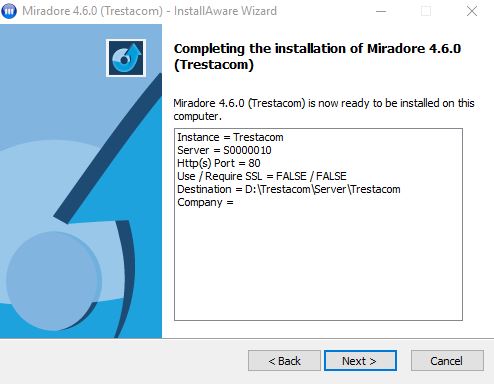
Review the connection parameters and start the installation.
After a successful installation, finish the installation.

Next go back to Miradore Management Suite and add new installation point item
 to Miradore (Administration > Feature
settings > Installation settings > Installation points)
to Miradore (Administration > Feature
settings > Installation settings > Installation points)Bind the new installation point into location(s) which it should serve (Installations management > Assigned locations).
After replication has finished, test new installation point by distributing a software package into target computer.
You can also create an installation point manually by making a copy of an existing installation point.
Copy all files from existing installation point to new server/folder.
Define the share and directory permissions.
If this is a master installation point, create a task to run the installation point scanner for scanning drivers and OS media.
Create a Windows scheduled task to execute “<full path to installation point>\SetupScanner.cmd /scheduled”
Set schedule to once a day at 2:00 am (or any suitable time)
If you moved the master installation point from a server to another, you must disable or remove the scheduled task on the old server.
The device online status indicators in the Installation Point view help diagnosing installation point failures. Please note, that in order for the indicator to function, there must exist a device configuration with the same device name as the Installation point server name.
See also
Configuring HTTP installation point manually
Example of a directory structure in a large environment